Building a Secure Electron App with Auto Updates: A Step-by-Step Guide
Learn how to build a secure Electron app with auto updates by following our step-by-step guide, including setting up HTTPS, validating updates, and more.
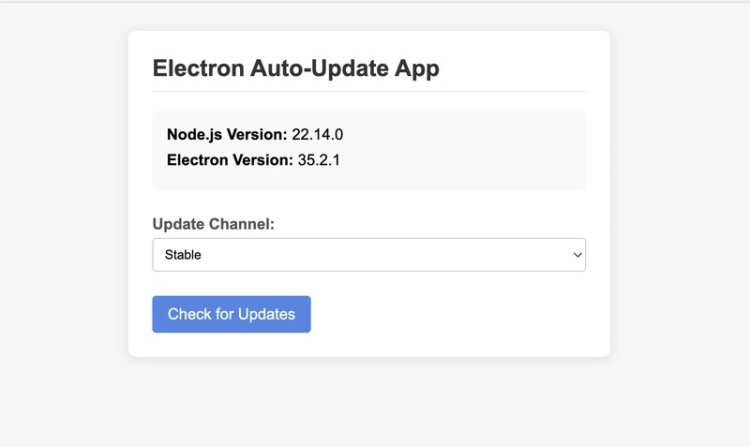
Building a Secure Electron App with Auto Updates: A Step-by-Step Guide
Electron is a popular framework for building cross-platform desktop applications using web technologies like HTML, CSS, and JavaScript. However, building a secure Electron app is crucial to protect user data and prevent common vulnerabilities like injection attacks and cryptographic failures.
In this guide, we'll walk you through the steps to build a secure Electron app with auto updates, including setting up HTTPS, validating updates, and more.
Step 1: Set Up HTTPS
HTTPS (Hypertext Transfer Protocol Secure) is a must-have for any Electron app that handles user data. To set up HTTPS, you'll need to obtain an SSL certificate from a trusted certificate authority like Let's Encrypt. You can also use a self-signed certificate, but this is not recommended for production environments.
To set up HTTPS in your Electron app, follow these steps:
- Install the Express framework and the HTTPS module using npm.
- Import the Express framework and create a new Express app.
- Use the HTTPS module to create a secure server.
Here's an example code snippet to get you started:
const express = require('express');const https = require('https');const app = express();const port = 443;const key = fs.readFileSync('key.pem');const cert = fs.readFileSync('cert.pem');https.createServer({ key, cert }, app).listen(port, () => { console.log(`Server listening on port ${port}`); });Step 2: Validate Updates
Validating updates is crucial to prevent common vulnerabilities like server-side request forgery (SSRF). To validate updates in your Electron app, follow these steps:
- Use the electron-updater module to handle updates.
- Implement update validation using a digital signature or a hash function.
Here's an example code snippet to get you started:
const { app, BrowserWindow, autoUpdater } = require('electron');const os = require('os');const path = require('path');const fs = require('fs');const updateConfig = { url: 'http://example.com/update.zip' };const update = autoUpdater;update.checkForUpdatesAndDownload(updateConfig, (error, updateInfo) => { if (error) { console.log('Error updating:', error); return; } console.log('Update info:', updateInfo); });Step 3: Implement Auto Updates
Implementing auto updates is crucial to keep your Electron app up-to-date with the latest security patches and features. To implement auto updates in your Electron app, follow these steps:
- Use the electron-updater module to handle updates.
- Implement update checking using a schedule or a timer.
Here's an example code snippet to get you started:
const { app, BrowserWindow, autoUpdater } = require('electron');const os = require('os');const path = require('path');const fs = require('fs');const updateConfig = { url: 'http://example.com/update.zip' };const update = autoUpdater;update.checkForUpdatesAndDownload(updateConfig, (error, updateInfo) => { if (error) { console.log('Error updating:', error); return; } console.log('Update info:', updateInfo); });By following these steps, you can build a secure Electron app with auto updates that protects user data and prevents common vulnerabilities like injection attacks and cryptographic failures.
Remember to always keep your Electron app up-to-date with the latest security patches and features to ensure a secure and stable user experience.
What's Your Reaction?